So this is my first time blogging so let me tell you a
little bit about myself. I am a Mother of 2 beautiful children. My daughter,
Carsyn, is turning 3 tomorrow! My son, Jeremiah, was just born in July. They
are such a blessing to me and my husband Chris. Our family really does feel
complete.
I love to create things. Anything from scrapbooking to
cooking to building things. My mind works in overtime all the time in a
creative way. I am constantly thinking of things I can make, paint, create,
cook, bake, sell, and make beautiful. My main job is being a mommy but on the
side I do photography. I take portraits on the weekends and edit the photos
while my kids nap. The other craft I am passionate about is making fun looking
and good tasting cakes!! This is what I am blogging for. I have had so many
people ask me how I do my cakes and I want to share my tricks! SO here it goes!
***Please remeber I am self taught and they cakes get better over time!***
Cake batter:
First off I always cheat and use boxed cake mixes for all my
cakes except white and cherry almond... I am currently experimenting on new
recipes but so far the only ones I like more than a box mix are those too. I
like really moist cakes. My trick is that I freeze my cakes while they are
warm. I do this for 3 reasons. It holds the moisture in the cake, it’s easier
to frost without it crumbling and I can carve the cake much easier if it’s
frozen.
Butter Cream:
I usually always make a butter cream unless someone asks for
a different flavor. I have a great cherry almond recipe for the cherry almond
cake though!
- 3 cups confectioners' sugar
- 1 cup butter
- 1 teaspoon vanilla extract
- 1 to 2 tablespoons whipping cream
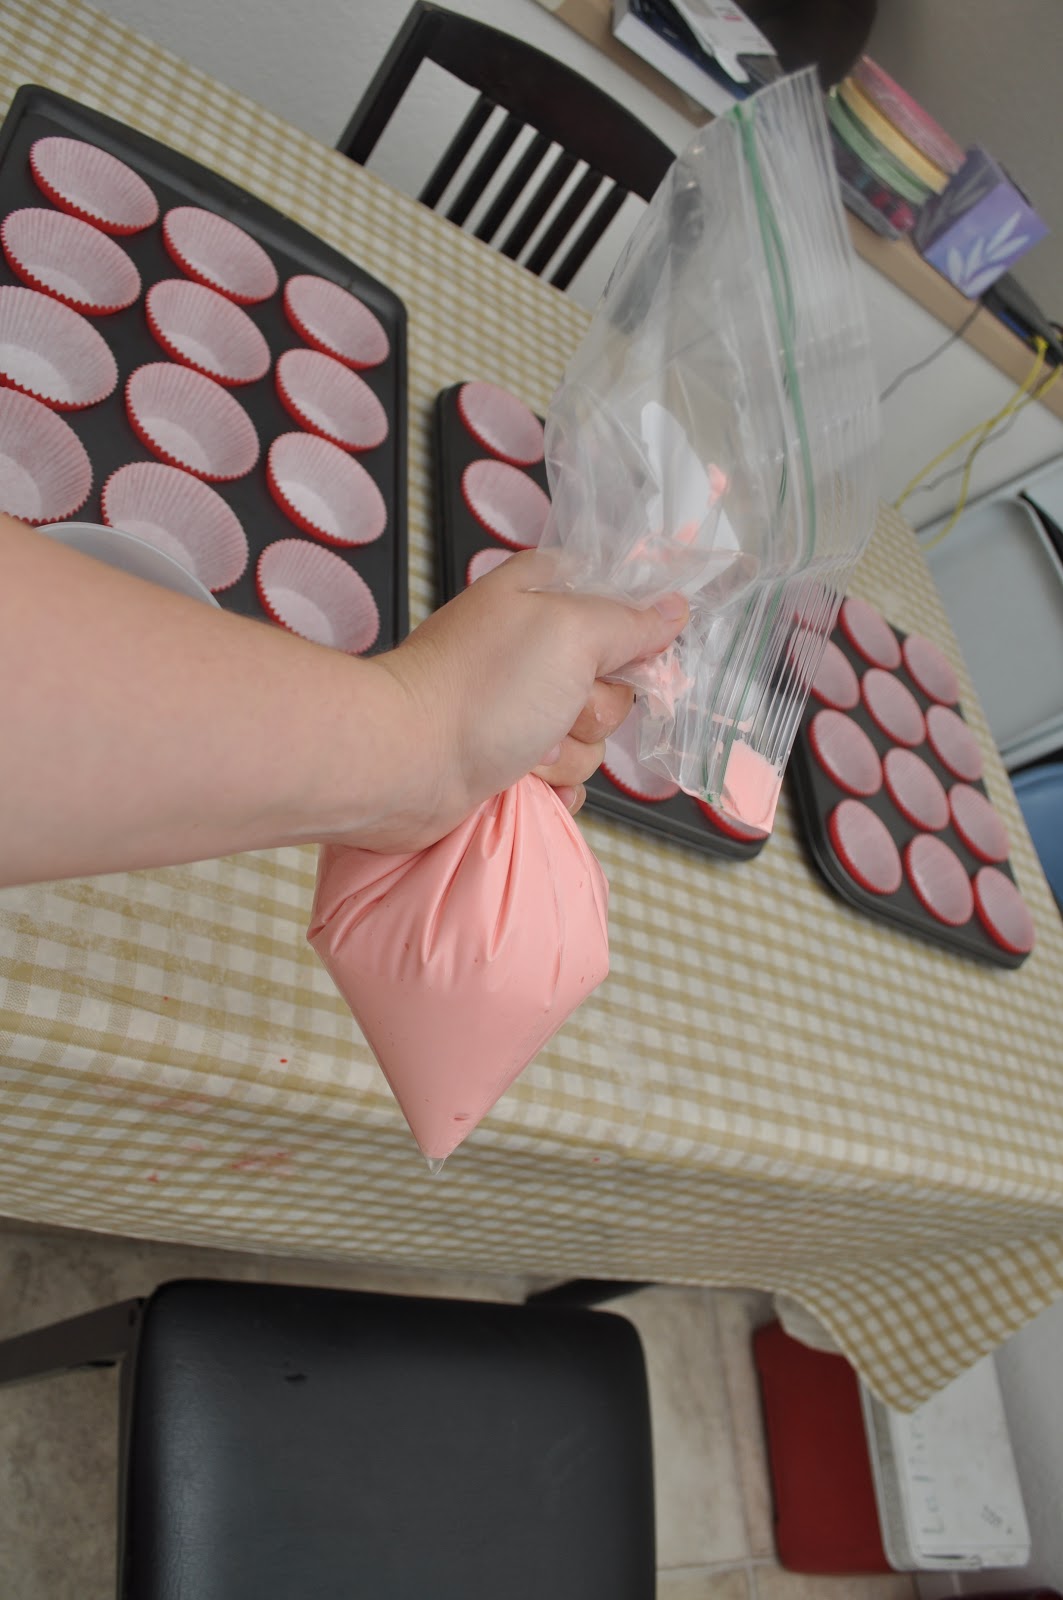
Make sure the butter is room temperature. In a stand mixer
or with a hand mixer blend butter and sugar. A lot of the time it will look
clumpy but it will no longer be white like the sugar. Add vanilla and whipping
cream and whip on high for 3 mins. Color as desired. (I use wilton paste
colors)
Fondant:
Prepare your surface buy rubbing a thin layer of shorting
all over. This will help make it so you fondant won’t stick. In a large
microwave bowl put marshmallows and just enough water to make the marshmallows
moist. I get my hands wet and then toss the marshmallows with my hands this is
usually enough water. Microwave on high for 1 min. using a wooden spoon of a
silicon spoon/spatula mix the marshmallows until there are no more lumps. Add powder
sugar and fold into the marshmallow. It will take some time. Once most of the
powder sugar is mixed (sugar will be all stuck to the sides of the bowl but
that is fine) rub your hands with shortening and pick up the fondant. Kneed it
until it is smooth. You might have to add more shorting to your hands and
surface as you kneed. Sometime I have to redo my hands and surface several
times. Once it is smooth you can cut chucks off and color it by kneading in the
color. If it starts to get to stiff to work with I put it in the microwave for
5 second intervals until it’s warm and easy to kneed again.
Cakes I have made in the past:
This is the first decorative cake I ever made. I had seen on
online somewhere and I just knew I could make it myself. I used boxed cake mix
and cook a cake in my Pyrex bowl to give it the shape of the dress. I bought a Barbie
with permanent shirt so I did not have to try and pipe a shirt on her.
My second cake was for my daughters 1st birthday.
We had decorated her nursery in butterflies for I thought a caterpillar cake
was fitting! I used the Wilton sports ball cake pans. They make half a ball at
a time and I just used them as caterpillar hump. I hand piped the frosting on
the cake and the board. This is 3 boxes of cake!
This is a Lego cake with how to train a dragon. This was for my Nephews 6ths
birthday. I used a square cupcake pan. This took 2 boxes of cake.
Lady bug. I used my Pyrex bowl and a small Pyrex bowl. They
small bowl I just cut a small protion off so it would sit up next to the “body”
better.
Purses. I have made 2 of these. I used round cake pans and
then cut a part of to give it a flat spot to sit up. I used 2 round cakes and
put them together with butter cream. The second one i forgot to pipe part of it
before the picture!
Hats. I used my pyrex bowl and carved it into the shape of the hat. For the curved bill i used tooth picks to help hold it up.


Graduation cake. I used a 13x9 cake pan. I cooked 2 cakes
and cut them to the size I wanted. I also used a small Pyrex for the hat part
of the cake. For the “diploma” I just bought a sheet of edible paper and rolled
it up.
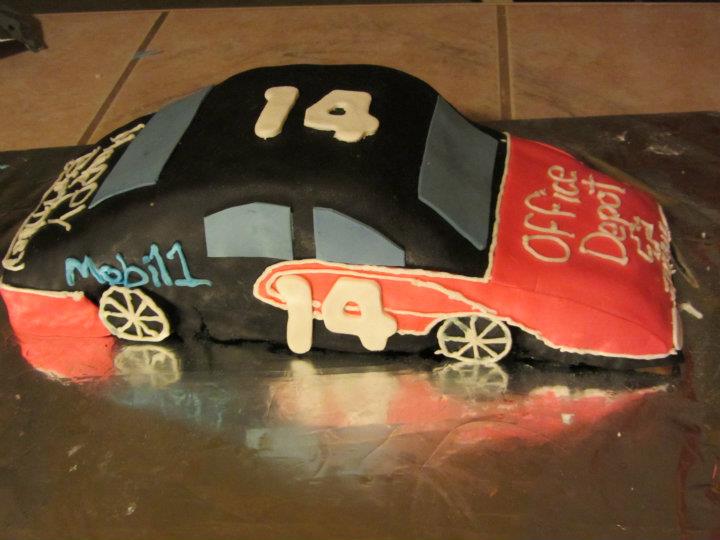
Race car. I just made some sheet cakes and carved them to
the shape I wanted.
Saint Patrick’s day cup cakes. This was for my sisters work
party so we did these together. I can’t take all the credit! The rainbows are
air heads melted together then cut… it was very hard I do not recommend it..
Baby shower cake! They were going to add baby shoes to the
top of the cake
Baby Belly cake! This is one of the most fun cakes I have
ever done. It was made with Pyrex bowls, 2 small, 1 big!
First birthday Zebra/Minni mouse cake!
This was my daughters second birthday cake. Minnie mouse!
First birhtday cake, Owl Theme!
First birthday cake, Spiderman theme
My Nephews 7th birhtday cake! Super Heros was the theme. We have Robin, Captin America, Spiderman and bat man!